


500-Chicken Coop Construction Plan
Complete Guide with Materials, Costs, and Step-by-Step Instructions
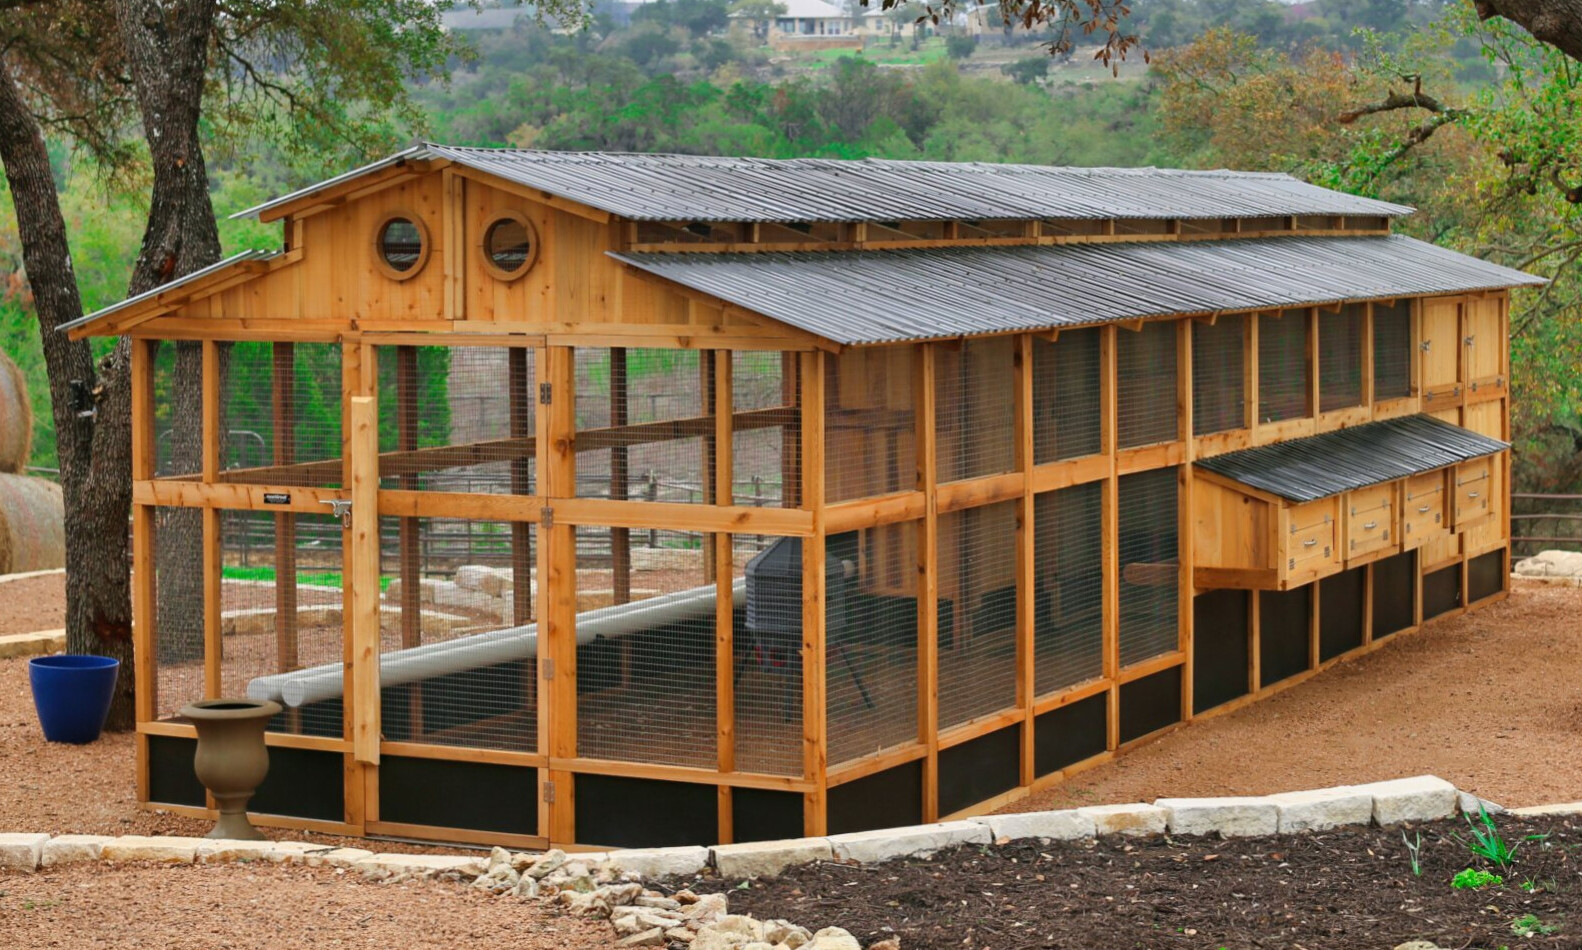
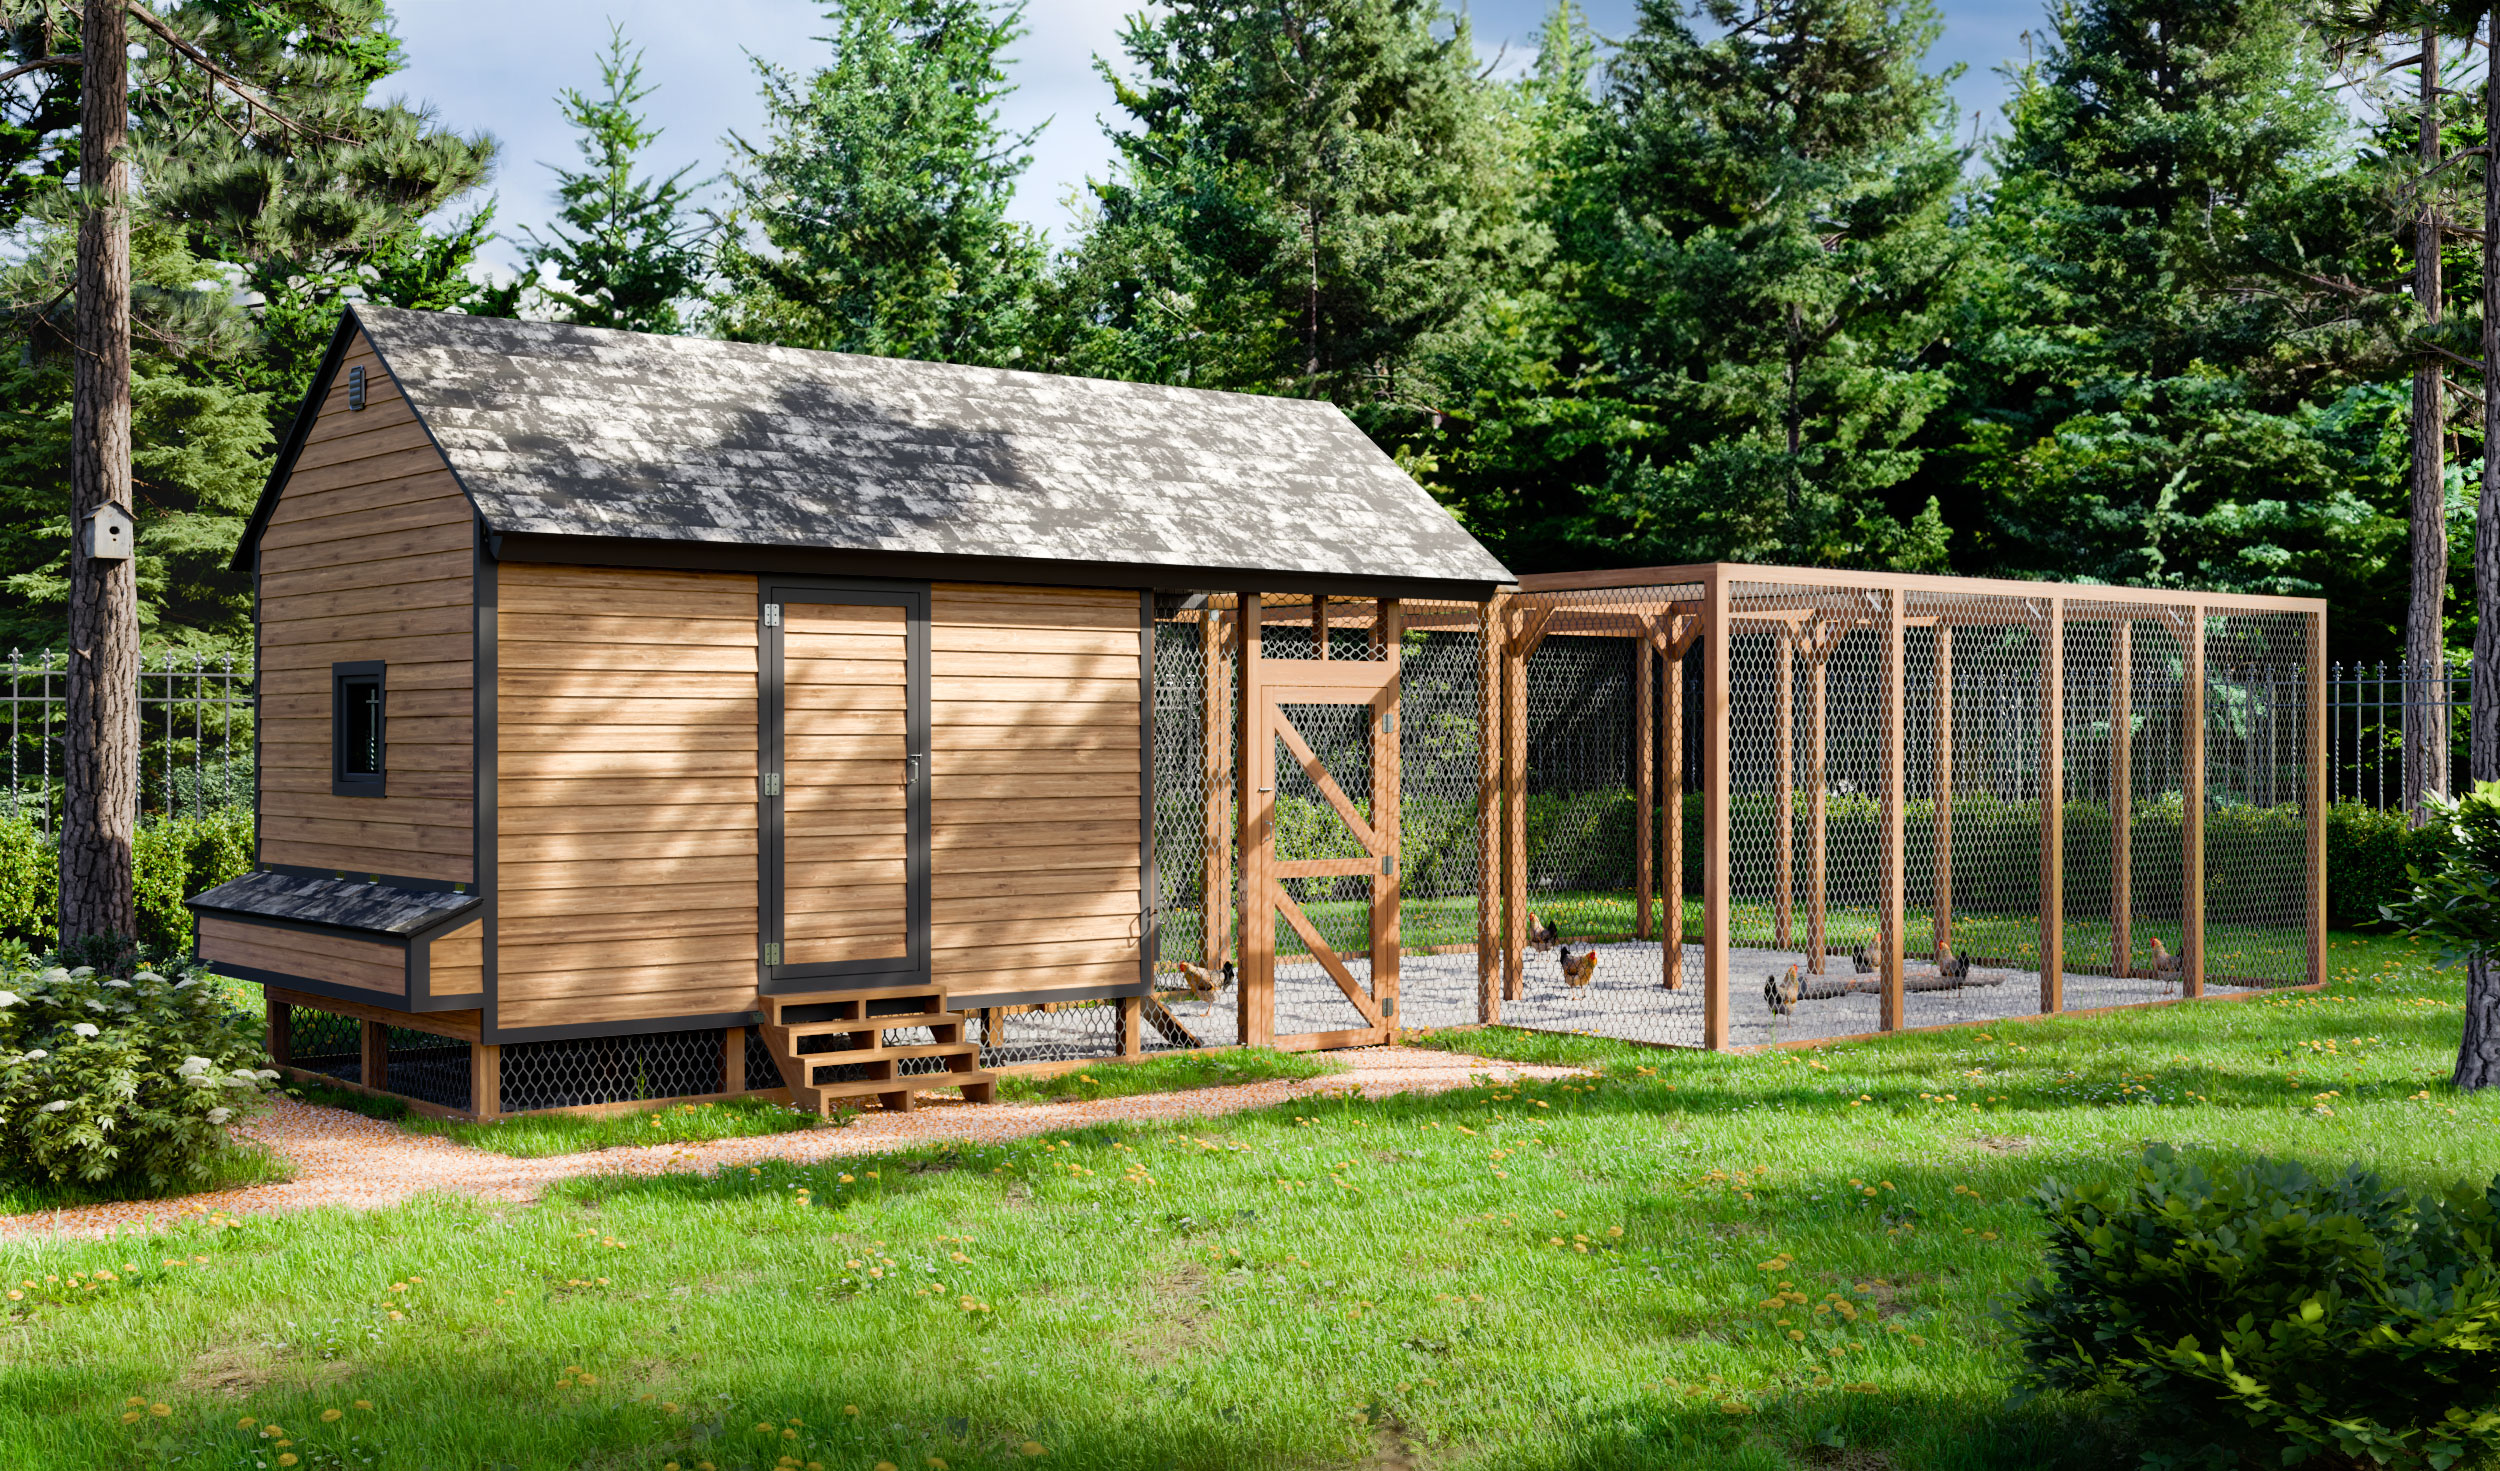
Coop Design Overview
This plan outlines the construction of a chicken coop suitable for 500 chickens. The design prioritizes proper ventilation, adequate space, predator protection, and ease of maintenance.
Coop Specifications
- Dimensions: 40ft x 20ft (800 sq ft)
- Height: 8ft at lowest point, 12ft at peak
- Space per chicken: 1.6 sq ft (meets recommended standards)
- Roof Style: Gable roof for proper ventilation and rain runoff
- Nesting Boxes: 50 boxes (1 per 10 hens)
- Roosting Space: 125 linear feet (6 inches per bird)
- Run Area: 2000 sq ft (4 sq ft per bird)
Materials Required
Foundation & Flooring
- Concrete blocks (80 units)
- Pressure-treated 4x4 lumber (200 ft)
- Pressure-treated 2x4 lumber (400 ft)
- Plywood sheets (3/4", 20 sheets)
Framing
- 2x4 lumber (1200 ft)
- 2x6 rafters (400 ft)
- Plywood sheathing (15 sheets)
- Metal brackets & connectors (various)
Roofing
- Metal roofing panels (25 panels)
- Roofing screws (200 pieces)
- Roofing felt (2 rolls)
- Ridge cap (40 ft)
Walls & Ventilation
- Plywood siding (25 sheets)
- Hardware cloth (1/2", 200 ft)
- Ventilation fans (2 units)
- Windows (4 units)
Interior Features
- Nesting boxes (50 units)
- Roosting poles (125 ft of 2x2)
- Feeders (10 units)
- Waterers (10 units)
Electrical & Lighting
- Electrical wiring (200 ft)
- LED lights (8 units)
- Outlets & switches (6 units)
- Automatic door opener (1 unit)
Cost Breakdown
| Item | Quantity | Unit Price ($) | Total Cost ($) |
|---|---|---|---|
| Concrete blocks | 80 | 2.50 | 200.00 |
| Pressure-treated 4x4 lumber | 200 ft | 3.50 | 700.00 |
| Pressure-treated 2x4 lumber | 400 ft | 2.50 | 1,000.00 |
| Plywood sheets (3/4") | 20 | 45.00 | 900.00 |
| 2x4 lumber | 1200 ft | 2.00 | 2,400.00 |
| 2x6 rafters | 400 ft | 3.00 | 1,200.00 |
| Plywood sheathing | 15 | 35.00 | 525.00 |
| Metal roofing panels | 25 | 25.00 | 625.00 |
| Roofing screws | 200 | 0.10 | 20.00 |
| Roofing felt | 2 rolls | 30.00 | 60.00 |
| Plywood siding | 25 | 40.00 | 1,000.00 |
| Hardware cloth (1/2") | 200 ft | 2.50 | 500.00 |
| Ventilation fans | 2 | 150.00 | 300.00 |
| Windows | 4 | 80.00 | 320.00 |
| Nesting boxes | 50 | 15.00 | 750.00 |
| Roosting poles (2x2) | 125 ft | 1.50 | 187.50 |
| Feeders | 10 | 45.00 | 450.00 |
| Waterers | 10 | 35.00 | 350.00 |
| Electrical wiring | 200 ft | 0.50 | 100.00 |
| LED lights | 8 | 25.00 | 200.00 |
| Outlets & switches | 6 | 5.00 | 30.00 |
| Automatic door opener | 1 | 250.00 | 250.00 |
| Nails, screws, fasteners | Various | - | 200.00 |
| Paint & sealant | Various | - | 300.00 |
| TOTAL ESTIMATED COST | $12,167.50 | ||
Budget Note
This is an estimated cost. Prices may vary based on location, quality of materials, and supplier. Always add 10-15% to your budget for unexpected expenses.
Construction Steps
Phase 1: Site Preparation & Foundation
- Clear and level the construction area
- Mark the coop footprint (40ft x 20ft)
- Place concrete blocks at corners and every 8 feet along perimeter
- Install pressure-treated 4x4 lumber as foundation beams
- Add floor joists with pressure-treated 2x4 lumber
- Install plywood flooring
Phase 2: Framing
- Construct wall frames using 2x4 lumber
- Install wall frames, ensuring they are plumb and square
- Add ceiling joists and rafters for gable roof
- Install plywood sheathing on walls and roof
Phase 3: Roofing & Siding
- Install roofing felt on roof sheathing
- Add metal roofing panels with appropriate overlap
- Install ridge cap at roof peak
- Add plywood siding to exterior walls
- Cut and frame openings for windows and ventilation
Phase 4: Ventilation & Protection
- Install hardware cloth over all ventilation openings
- Mount ventilation fans on opposite walls for cross-ventilation
- Install windows with secure latches
- Add predator-proof latches to all doors
Phase 5: Interior Features
- Build and install nesting boxes along walls
- Install roosting poles at varying heights
- Set up feeders and waterers at appropriate locations
- Install electrical wiring, lights, and outlets
- Add automatic door opener if desired
Phase 6: Finishing & Run Area
- Paint or seal all wood surfaces
- Add bedding material to floor
- Fence the run area (2000 sq ft) with secure fencing
- Add shade structures to run area
- Test all systems before introducing chickens
Coop Diagram
Maintenance Schedule
- Daily: Check feed and water, collect eggs, observe chicken health
- Weekly: Clean feeders and waterers, add fresh bedding as needed
- Monthly: Deep clean coop, check for repairs, inspect for pests
- Seasonally: Check roofing, repaint/seal wood, inspect electrical systems
- Annually: Complete structural inspection, replace worn components

 Newspaper is an amazing magazine blogger theme that is easy to use and change to fit your needs
No comments
Post a Comment